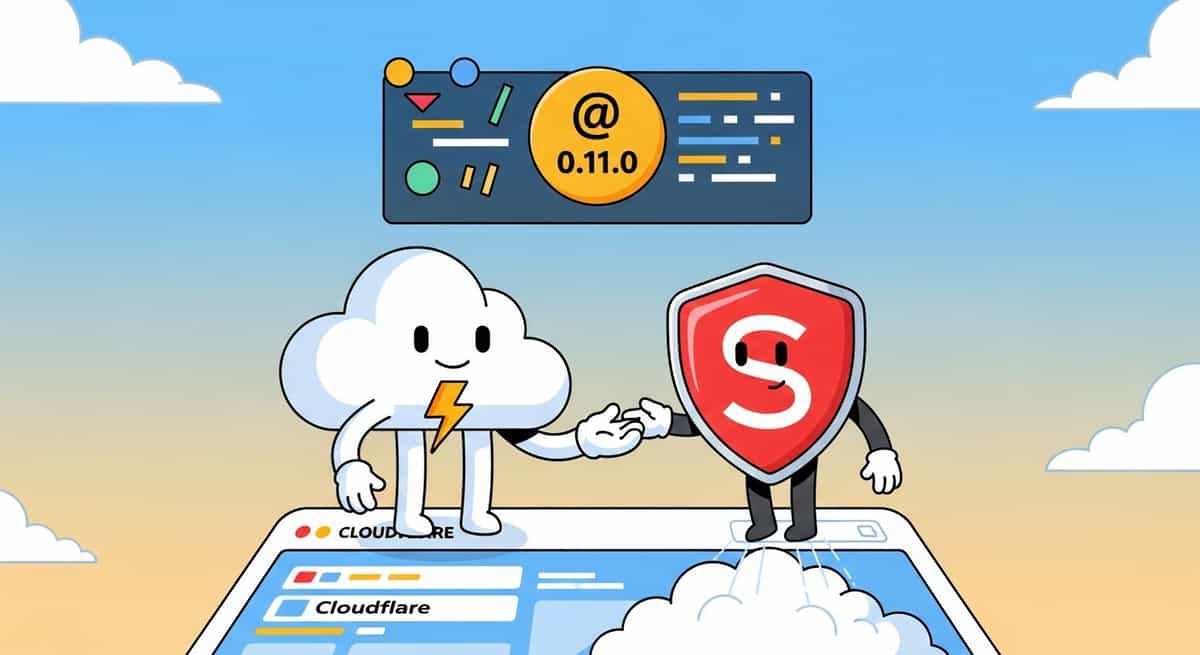
Set Up SvelteKit on Cloudflare with sv@0.11.0
Link to section: Getting Started with Cloudflare and SvelteKitGetting Started with Cloudflare and SvelteKit
Until recently, setting up SvelteKit for Cloudflare Workers required manual adapter configuration, environment variable setup, and wrangler config tweaks. The Svelte CLI (sv) version 0.11.0 changed that. Now you can bootstrap a full Cloudflare-ready SvelteKit project with a single command and minimal configuration.
In January 2026, the sv CLI gained the ability to automatically set up all the Cloudflare Workers and Pages boilerplate. If you've been hesitant about deploying to Cloudflare because the setup felt fragmented, now's the time to reconsider.
Link to section: What Exactly Changed in sv@0.11.0What Exactly Changed in sv@0.11.0
The sv CLI (Svelte's official scaffolding tool) now includes a built-in option to initialize a SvelteKit project specifically for Cloudflare. Instead of installing the adapter separately and manually configuring wrangler.json, the CLI does it for you.
This update lives in pull request #851 on the SvelteKit repository. The practical impact: you go from zero to a working Cloudflare deployment environment in about 30 seconds.
Link to section: Step 1: Create a New SvelteKit Project for CloudflareStep 1: Create a New SvelteKit Project for Cloudflare
Start with the new --add flag. This tells sv to install add-ons during project creation.
npx sv@latest create my-cloudflare-appWhen prompted, select "SvelteKit" as the framework. Then when it asks about add-ons or adapters, you can choose Cloudflare.
Alternatively, if you want to be explicit about the Cloudflare setup from the start:
npx sv@latest create my-cloudflare-app --add cloudflareThis command creates a new directory, installs dependencies, and pre-configures the Cloudflare adapter in one pass. Your svelte.config.js will already have the adapter imported and the wrangler.json file will exist.
Link to section: Step 2: Verify the Generated ConfigurationStep 2: Verify the Generated Configuration
Navigate into your new project and check what sv created for you:
cd my-cloudflare-app
ls -la
You should see:
svelte.config.jswithadapter-cloudflareimportedwrangler.jsonwith basic Cloudflare configurationsrc/directory with a standard SvelteKit structurepackage.jsonwithwranglerand@sveltejs/adapter-cloudflarein devDependencies
Open svelte.config.js and you'll see something like:
import adapter from '@sveltejs/adapter-cloudflare';

export default {
  kit: {
    adapter: adapter()
  }
};
Open wrangler.json:
{
  "name": "my-cloudflare-app",
  "main": "./.cloudflare/worker.js",
  "compatibility_date": "2026-02-01",
  "env": {
    "production": {}
  }
}
The compatibility_date tells Cloudflare which API version your worker targets. This is set to the current date by default; you can update it as needed, but for new projects, the default is fine.
Link to section: Step 3: Add Environment Variables (Optional)Step 3: Add Environment Variables (Optional)
If your app needs secrets or configuration, add them to wrangler.json under the env section:
{
  "name": "my-cloudflare-app",
  "main": "./.cloudflare/worker.js",
  "compatibility_date": "2026-02-01",
  "env": {
    "production": {
      "vars": {
        "API_URL": "https://api.example.com"
      }
    }
  }
}
In your SvelteKit route or server code, access these via event.platform.env:
export async function load({ platform }) {
  const apiUrl = platform?.env?.API_URL;
  // use apiUrl in your server-side logic
}
For secrets you don't want in version control, use wrangler secret put:
npx wrangler secret put DATABASE_URL
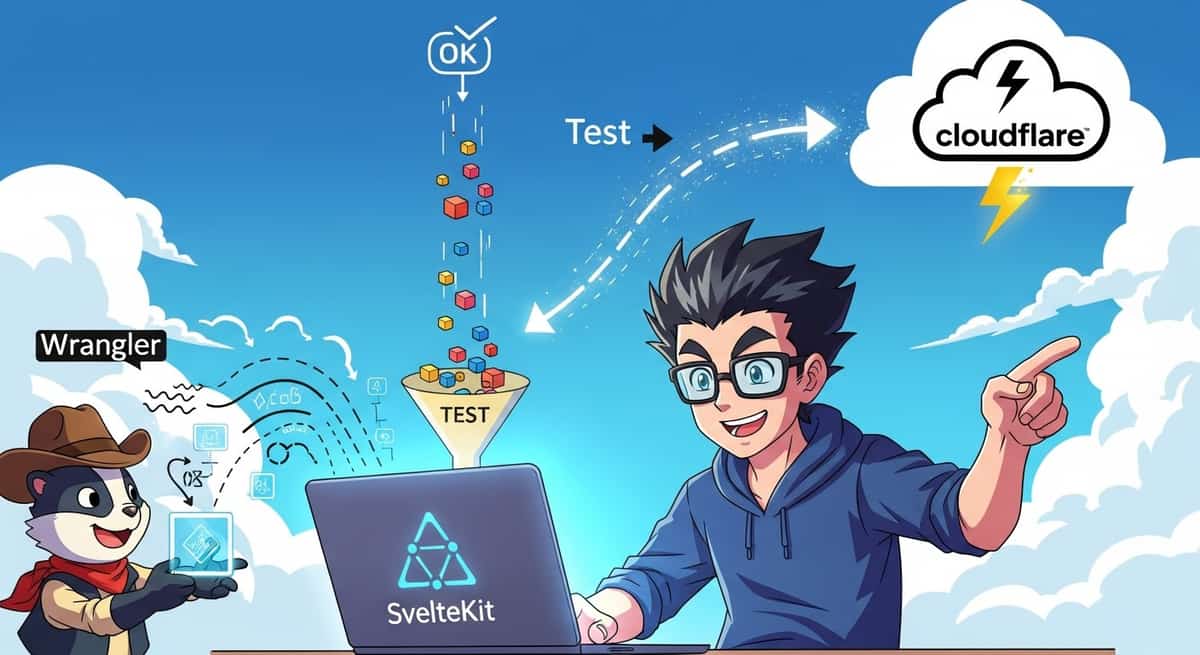
# prompted to enter the valueLink to section: Step 4: Test LocallyStep 4: Test Locally
Before deploying, run the dev server:
npm run devThis starts the Vite dev server on http://localhost:5173. Your routes and API endpoints behave the same as they would in production.
To test with Cloudflare's local emulation (useful if you're using KV, D1, or other Cloudflare services), use wrangler's development mode:
npx wrangler devThis spins up a local worker that mimics the Cloudflare environment more closely. Requests go through the same execution pipeline, so you can catch environment-specific issues early.
Link to section: Step 5: Deploy to CloudflareStep 5: Deploy to Cloudflare
Once you're satisfied with local testing, deploy:
npx wrangler deployWrangler reads your wrangler.json and sends your app to Cloudflare. If this is your first deployment, you may be prompted to log in via wrangler login. After that, your app is live at a *.workers.dev subdomain.
To deploy to a custom domain, configure route in wrangler.json:
{
  "name": "my-cloudflare-app",
  "main": "./.cloudflare/worker.js",
  "compatibility_date": "2026-02-01",
  "route": "https://example.com/*",
  "zone_id": "your-zone-id"
}
Replace your-zone-id with your Cloudflare zone ID (found in your Cloudflare dashboard under Domain settings).
Link to section: Real-World Example: A Simple API RouteReal-World Example: A Simple API Route
Let's build something concrete. Create src/routes/api/hello/+server.js:
import { json } from '@sveltejs/kit';

export async function GET({ platform }) {
  const apiUrl = platform?.env?.API_URL || 'https://api.example.com';

  return json({
    message: 'Hello from Cloudflare',
    timestamp: new Date().toISOString(),
    apiUrl: apiUrl
  });
}
Now add a page that fetches this endpoint. Create src/routes/+page.svelte:
<script>
  let data = $state(null);
  let loading = $state(true);

  async function fetchGreeting() {
    const res = await fetch('/api/hello');
    data = await res.json();
    loading = false;
  }

  onMount(() => {
    fetchGreeting();
  });
</script>

<h1>Cloudflare SvelteKit</h1>
{#if loading}
  <p>Loading...</p>
{:else}
  <p>{data.message}</p>
  <p>Timestamp: {data.timestamp}</p>
{/if}
Test locally with npm run dev, then deploy with wrangler deploy. Your SvelteKit app now runs as a Cloudflare Worker.
Link to section: When to Use sv@0.11.0's Cloudflare SetupWhen to Use sv@0.11.0's Cloudflare Setup
The automated setup is useful if you:
- Are starting a new project on Cloudflare (no legacy config to migrate).
- Want a quick, opinionated baseline with minimal decisions.
- Don't need custom wrangler plugins or complex environment-specific configs.
If you're adding Cloudflare to an existing SvelteKit project, the manual approach still works. Install @sveltejs/adapter-cloudflare, update svelte.config.js, and create wrangler.json by hand. The sv CLI shortcut saves time when bootstrapping fresh.
Link to section: Common Pitfalls and FixesCommon Pitfalls and Fixes
Pitfall 1: Forgetting to log in with wrangler
If you run wrangler deploy without credentials, you'll get an authentication error. Fix it:
npx wrangler login
# Opens browser for OAuth, then you're authenticated
Pitfall 2: API_URL is undefined in your code
If event.platform?.env?.API_URL returns undefined, check that you defined it in wrangler.json under the correct environment. If you're in production, make sure the variable is in env.production, not at the top level.
Pitfall 3: Build fails with "Cannot find adapter"
If you skipped the sv CLI and manually installed the adapter, make sure @sveltejs/adapter-cloudflare is in package.json and imported in svelte.config.js. Reinstall dependencies if needed:
npm installPitfall 4: Local dev doesn't match production
If behavior differs between npm run dev and wrangler dev, you're likely accessing platform-specific features (KV, D1, etc.) that aren't available in standard dev mode. Use wrangler dev to test those.
Link to section: Next StepsNext Steps
You now have a SvelteKit app running on Cloudflare Workers. From here, consider:
- Accessing streaming file uploads and smart hydration patterns for better performance.
- Using bundle strategy options to reduce JavaScript sent to the browser.
- Setting up Cloudflare KV or D1 (SQLite) for data persistence.
- Configuring a CI/CD pipeline (GitHub Actions, GitLab CI) to deploy on every push.
The sv CLI has taken friction out of the Cloudflare setup, but the real work is building features that take advantage of Cloudflare's edge infrastructure. If your app needs sub-100ms latency or global distribution without a separate backend, Cloudflare is worth the investment.

